Fall Craft Projects

The past couple weeks was Fall Break for my kiddos at school, so I was tasked with keeping everyone entertained. I thought it would be a perfect time to break into some fall and Halloween crafting! Keep reading to see our projects and links to help make some of your own.

Please note: This blog post contains affiliate links, meaning I receive a commission if you make a purchase by following my link to the site.


First, let me show off my kids’ creations, seen below. For context, I suggested that we cut out pumpkin shapes out of some scraps of cardboard and decorate them. Pretty basic. Thank goodness I have imaginative kids, because they sure made it their own!

My youngest stuck with the pumpkin idea. She is only three, so it was pretty much a pile of paint. She dubbed it “rainbow pumpkin.” My second-oldest asked me, rather than pumpkins, to cut out a candy cane, apple, and strawberry shapes from the cardboard. I obliged, and out of this grew some zombie fruit and a black and orange striped candy cane. My oldest asked for a house shape. She then drew a line down the middle and made one side “Christmas” style and the other “Halloween.” So cute. They are now all hanging proudly on our wall.

As for me, I’ve been keeping myself busy with my share of pumpkin crafts…

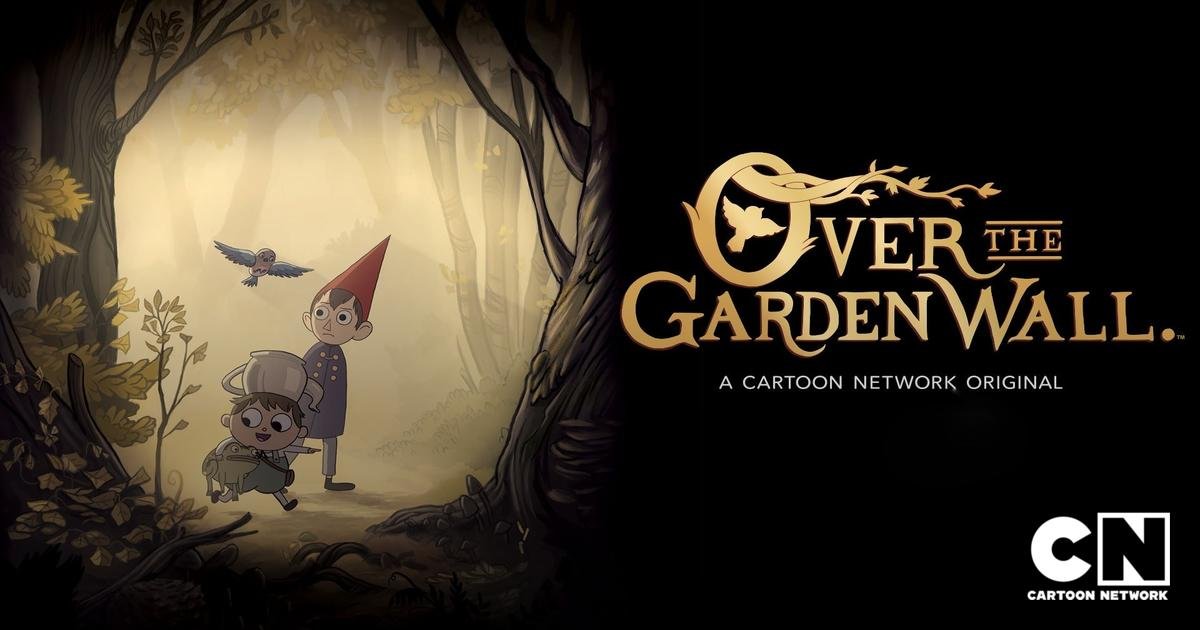
I took a Halloween sign I found in the dollar section at Target and gave it an Over the Garden Wall fan art makeover. If you’re unfamiliar with OTGW, it’s a fun and quirky animated series with perfect fall vibes. I highly suggest checking it out. It’s currently on Hulu in the U.S. For the sign, I first repainted the surface to get rid of the current design, then I found the title lettering online and converted it into an SVG so I could cut out a stencil in removable vinyl. I painted it with gold paint and redrew the pumpkin face to match a character from the cartoon.

Click on the image to see my video on Tik Tok

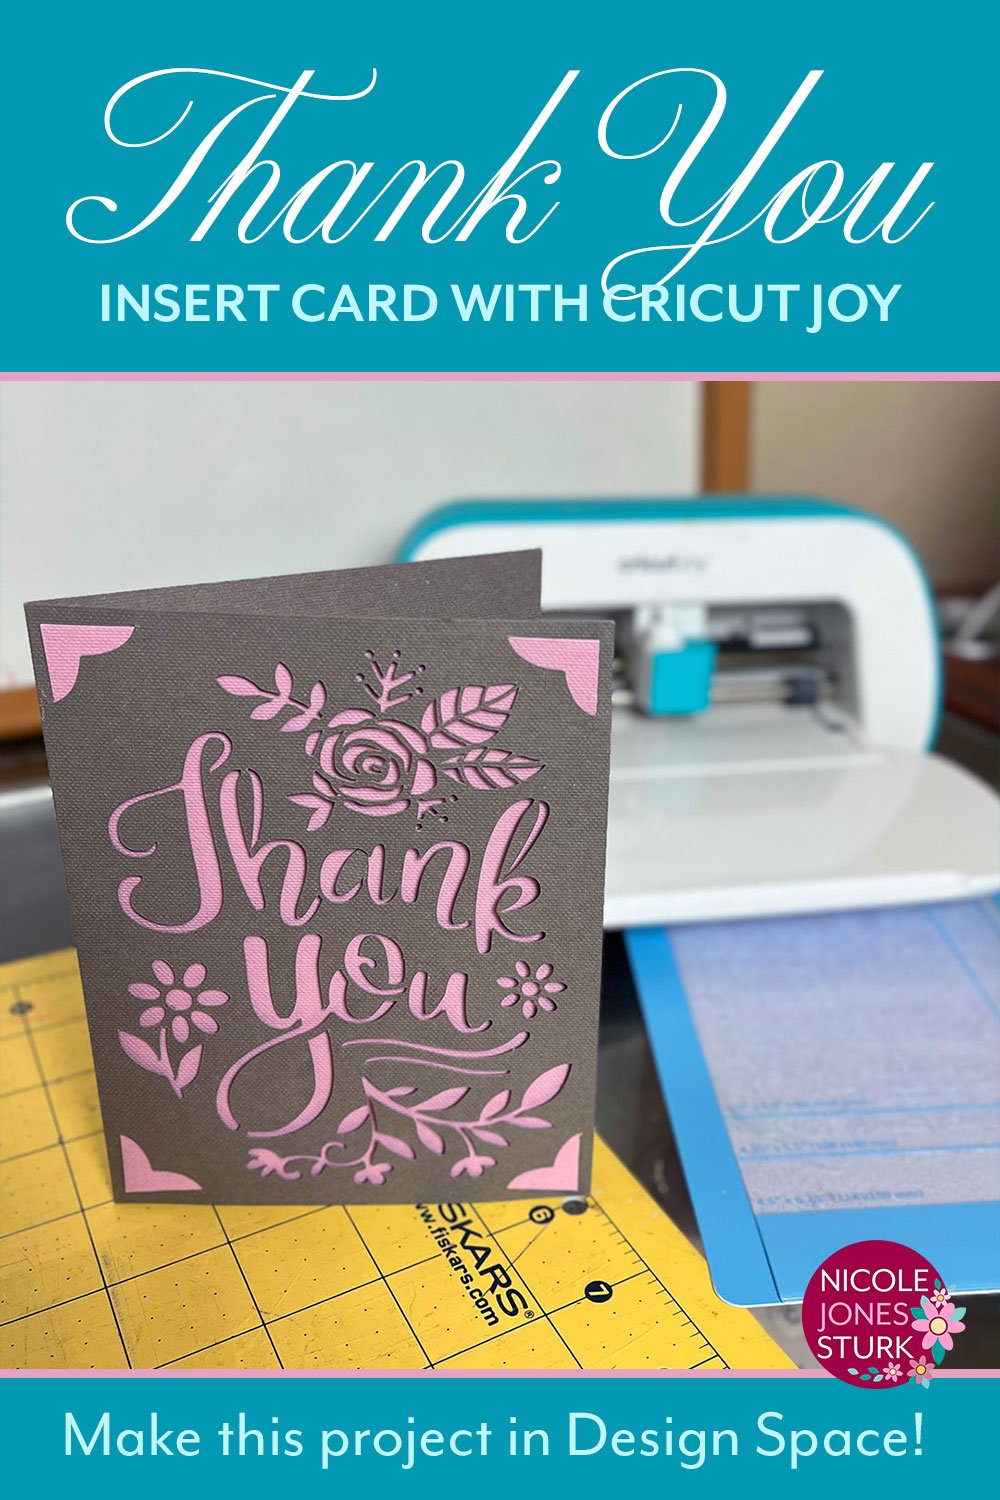
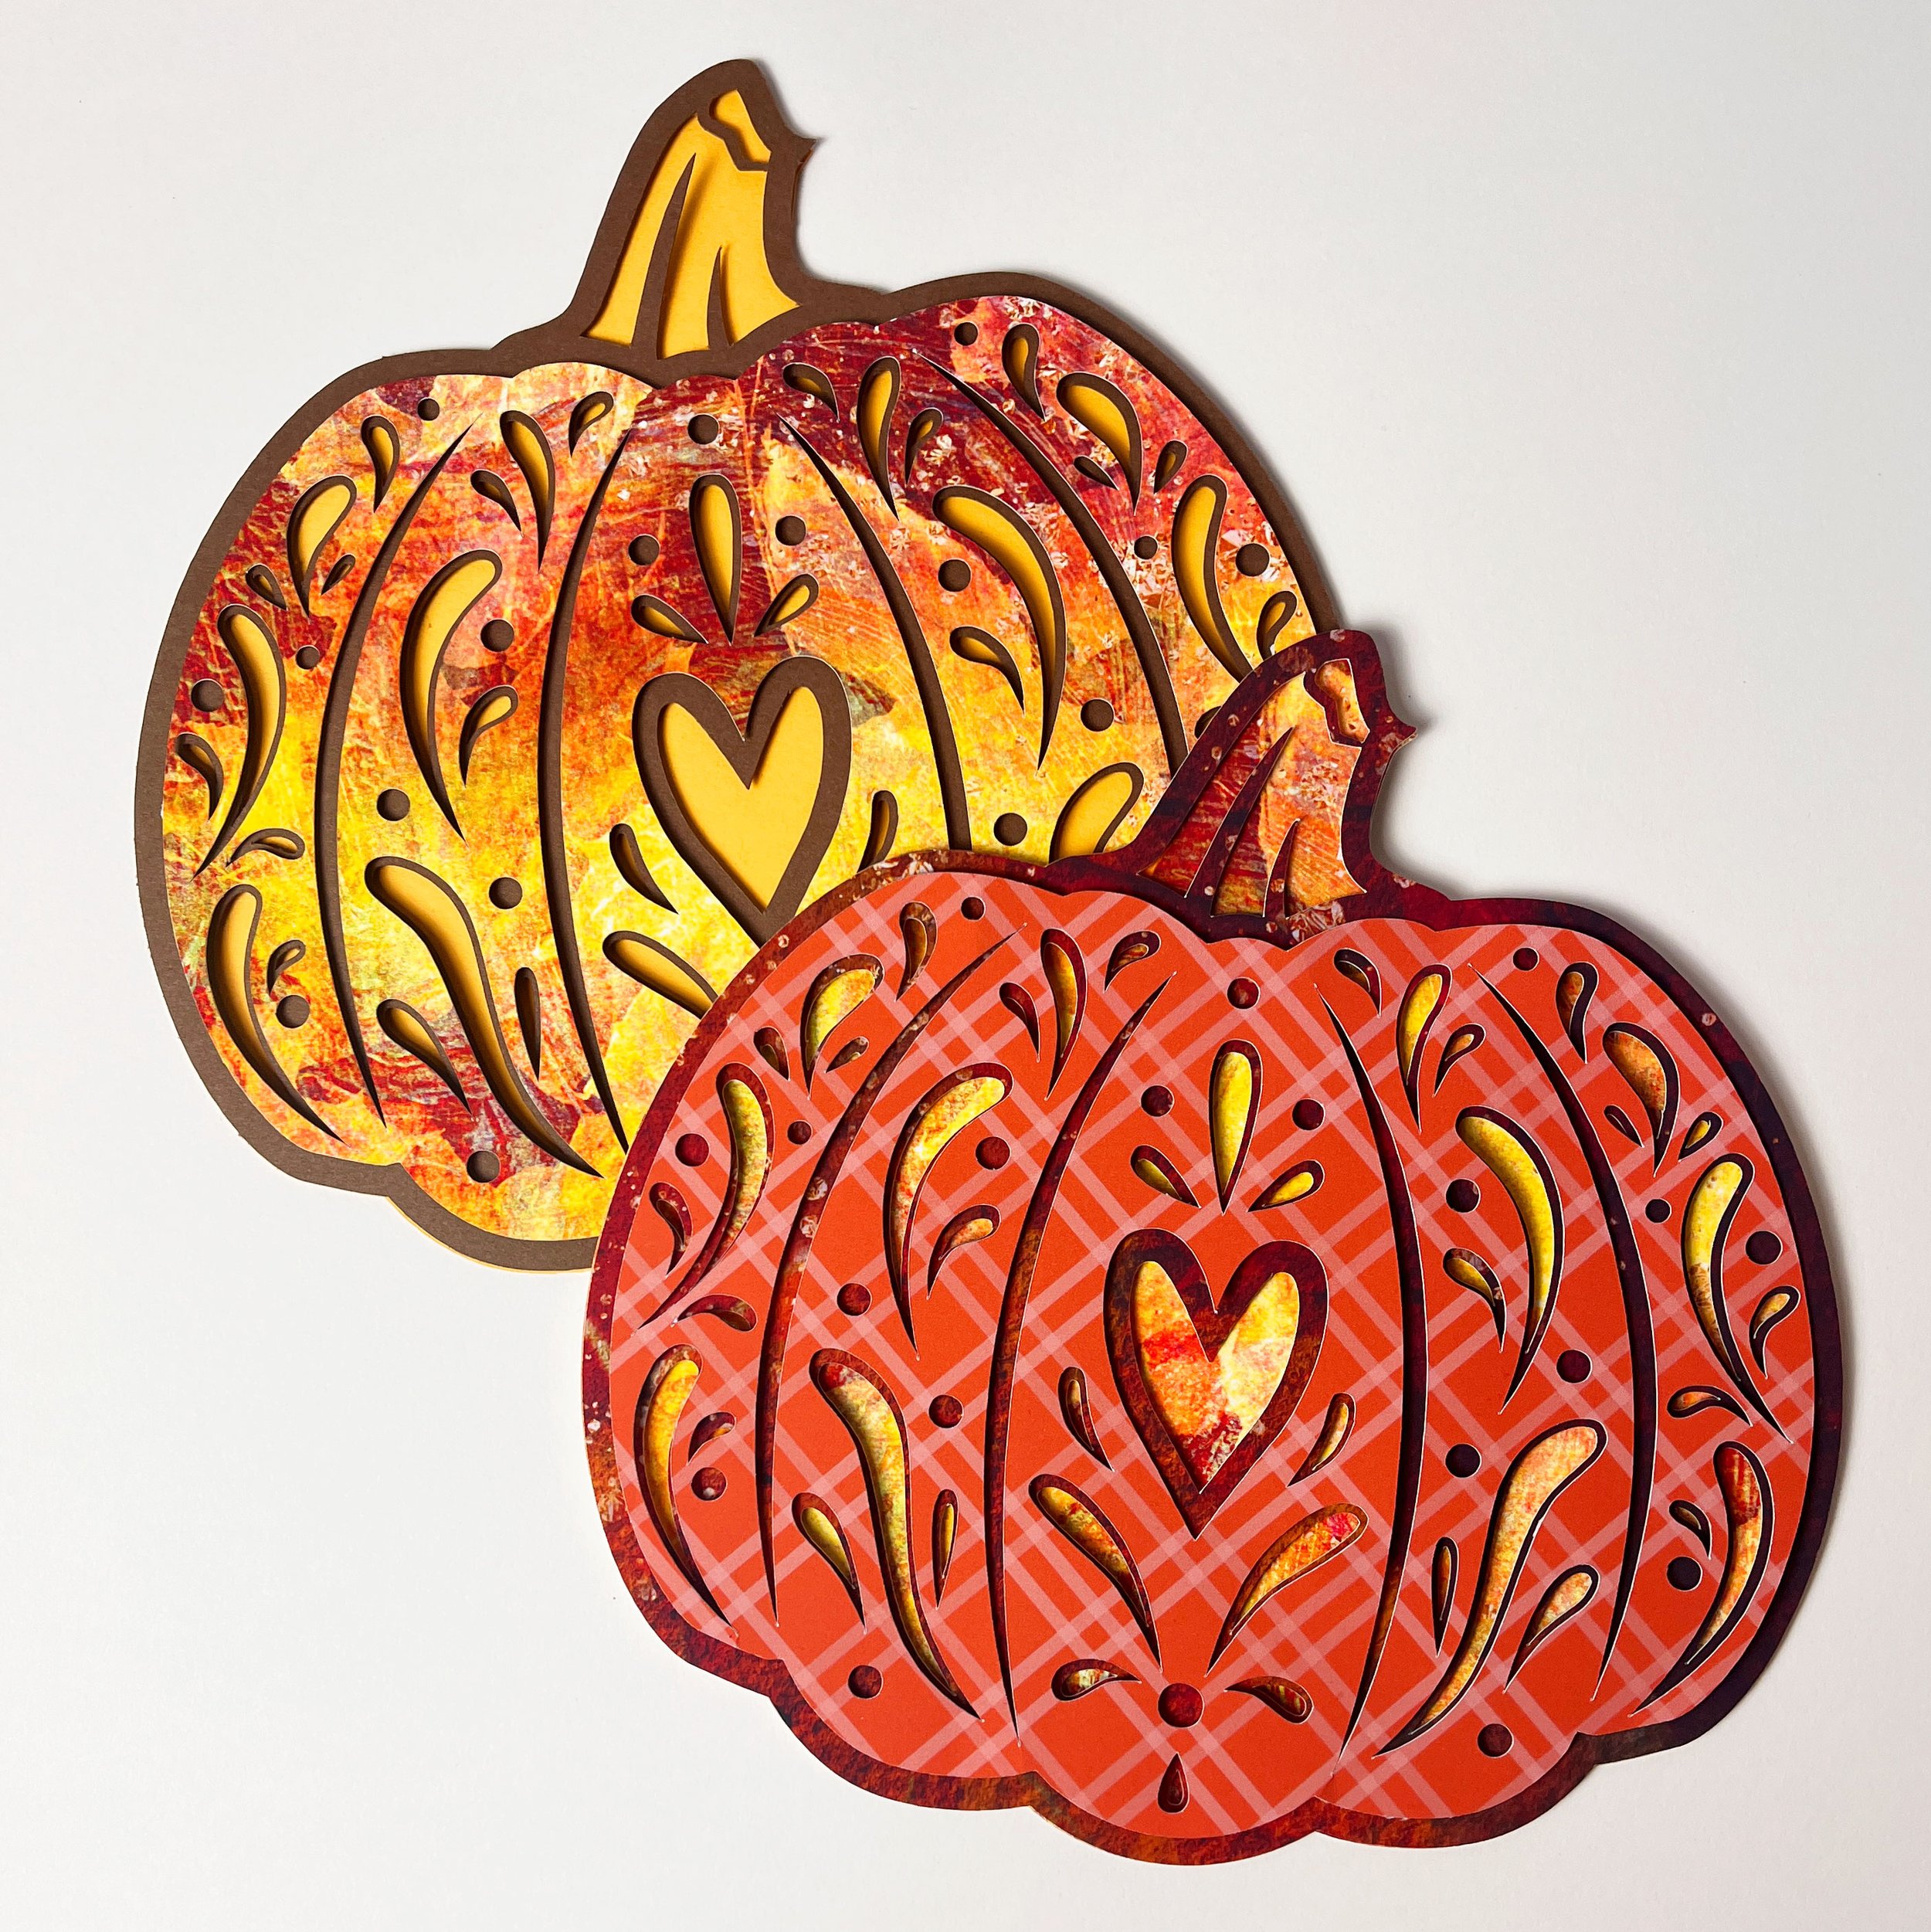
I also designed one of my first layered paper pieces to create a pretty autumn pumpkin wall decoration. I kept it simple—only three layers of cardstock to cut. I used patterned paper to add some interest. This is one of my new images that you can find on Cricut Design Space. (Click on the images to view the project page and cut your own!)

By the way, my images on Cricut Design Space are free to use for Cricut Access members. If you own a Cricut machine but are not yet an Access subscriber, I highly recommend it! There are loads of images, fonts, and features that are included, as well as shop discounts. It is a crafter's dream.

Click the images to view the project on Cricut Design Space.

Last but not least, I made this cute little pink pumpkin notebook. I printed out some patterns and dot grid papers. I cut the papers in half, then stacked and folded them into a booklet, which I stapled at the spine. I cut the pumpkin from vinyl to add to the cover. This pumpkin image is also one of mine on Design Space. Click on the images to view the project page.

Click the images to view the project on Design Space.

Psst, if you want to make your own notebook, I’ve made this project into a FREE printable download on the secret section of my website, which you can access by subscribing to my email newsletter. You’ll find lots of other freebies there as well!

So as you can see, lots of creative fall crafting going on here in the Sturk household, and hopefully more to come—unless I decide to skip right to the holidays haha.

Happy Crafting!


You might also like…

Links to Cricut Projects on Design Space

Watch Over the Garden Wall on Hulu (U.S.)

Thank You Insert Card for Cricut Joy

It is so nice to be able to whip out a card whenever you need one—even at the last minute—but still make it something special. Insert cards are perfect for this. This is a quick Thank You insert card that I made with my Cricut Joy and card mat. This is actually one of the first insert cards I ever designed, and now it’s available on Design Space!

The finished card is 4.25 x 5.5 inches. I used Cricut's insert card kits, but you can also cut a piece of cardstock to 8.5 x 5.5 inches and fold in half. The insert piece is 4 x 5.25 inches.

Click on the image to go to the ready-to-cut project in Design Space.


If you’d like to make this project and more, I highly recommend subscribing to Cricut Access!

Please note: This is an affiliate link, meaning I receive a commission if you make a purchase by following my link to the site.

My Top Three Ways to Use Up Sticker Paper Scraps

Do you love to print and cut your own stickers with your Cricut or Silhouette machine, but hate to waste sticker paper? Well, don’t throw away those scraps. You can still use them!

You may not be able to print anymore on your paper scraps, but you can still cut and add designs manually. In this post I’ll be sharing some of my favorite ways to use up small pieces of sticker paper.


This post contains affiliate links. As an Amazon Associate I earn from qualifying purchases. This means I get a small commission if you use any my links to buy one of the products from my posts. It doesn’t affect what you pay. You can read more about my affiliate links HERE.

Here are my top three ways to put sticker paper scraps to good use:

1. Use craft punches to create mini shape stickers

Craft punches come in all different sorts of shapes and can be used to make mini stickers from your paper. Create shapes like hearts, stars, snowflakes, or leaves to add to your craft projects, journals, and planners.

You can also add color and designs with markers and pen. I like to use border punches to create a quick lacy edging to add to a handmade card or scrapbook page. Another one of my favorite punches is the binder hole reinforcer punch from We R Memory Keepers (now We R Makers). Strong vinyl sticker paper is perfect to use with this because it doesn’t tear easily.

2. Make your own tape.

Simply cut your scraps into long strips and ta-da—instant tape! Use it plain or create your own design to make a custom decorative tape. If you are addicted to collecting washi tapes, this is a particularly fun and perfect way to use up strips of sticker paper.

3. Create DIY labels. 

This can be as simple as cutting your paper into strips like we did with the tape, and writing on them, or you can cut out fancier custom shapes with your cutting machine. A Cricut Joy is perfect for a small project like this, but it can be done with a full size machine as well!

And those are my three top ways to use up sticker paper scraps! What do you do with your scraps? Let me know in the comments. I’d love to hear your ideas!


Featured Products

More about affiliate links.

You might also like…

Easter Eggs Past and Present

One of my favorite things to do around Easter time is decorate eggs! You might have caught my recent Twitch stream where I created some for this coming holiday. You can watch it HERE.

Back in 2014, I had one of my most productive Easter egg-making years when I decorated one a day for 20 days leading up to Easter. I used a different style for each day, and had fun finding different ways to photograph them as well. I even submitted one to a Martha Stewart decorating contest on social media (the quilt-inspired one seen in the slideshow below) and it was featured in the final round of voting!

I’ve experimented a little throughout the years. Once, I painted Cadbury mini eggs with food coloring—so cute! I added rhinestone embellishments another time. Last year, I tried my hand at carving an egg shell with a Dremel tool. I have yet to master that, haha. Most of those have ended up cracked and ruined.

Although I would love to one day learn some of the traditional methods of decorating Easter eggs, such as the Ukranian process of pysanka, I mostly stick to just using markers and pens. It’s easy, quick, and not as messy as dyes and paint. If I use water-based markers, they blend very well but I do have to be careful not to touch with wet hands or risk smudging. Once in a while, I blow out real eggs, but have lately resorted to fake craft eggs—again easier, and also more durable. My kids got ahold of some of my past Easter eggs I had saved and smashed them to bits. Sigh.

For a closer look at the eggs I made this year using brush markers, go to THIS POST.

Anyway, enjoy the slideshow of some of my past and present Easter egg designs!

—Nicole

You might also enjoy some of my recent spring and Easter products…