Happy Birthday to Me! Enjoy a Free SVG!

Welcome to February! I personally love when we finally reach February each year. January is a bit of a dreary month. Holidays are over. Everyone’s back to work and school. It’s cold and gray. But now, even though we’re still in the trenches of winter for a little while, you can begin to see the light at the end of the tunnel. It helps that I’ve moved to New Mexico, so the weather is much more mild. It is basically how it is in spring back in New Hampshire where I’m from!

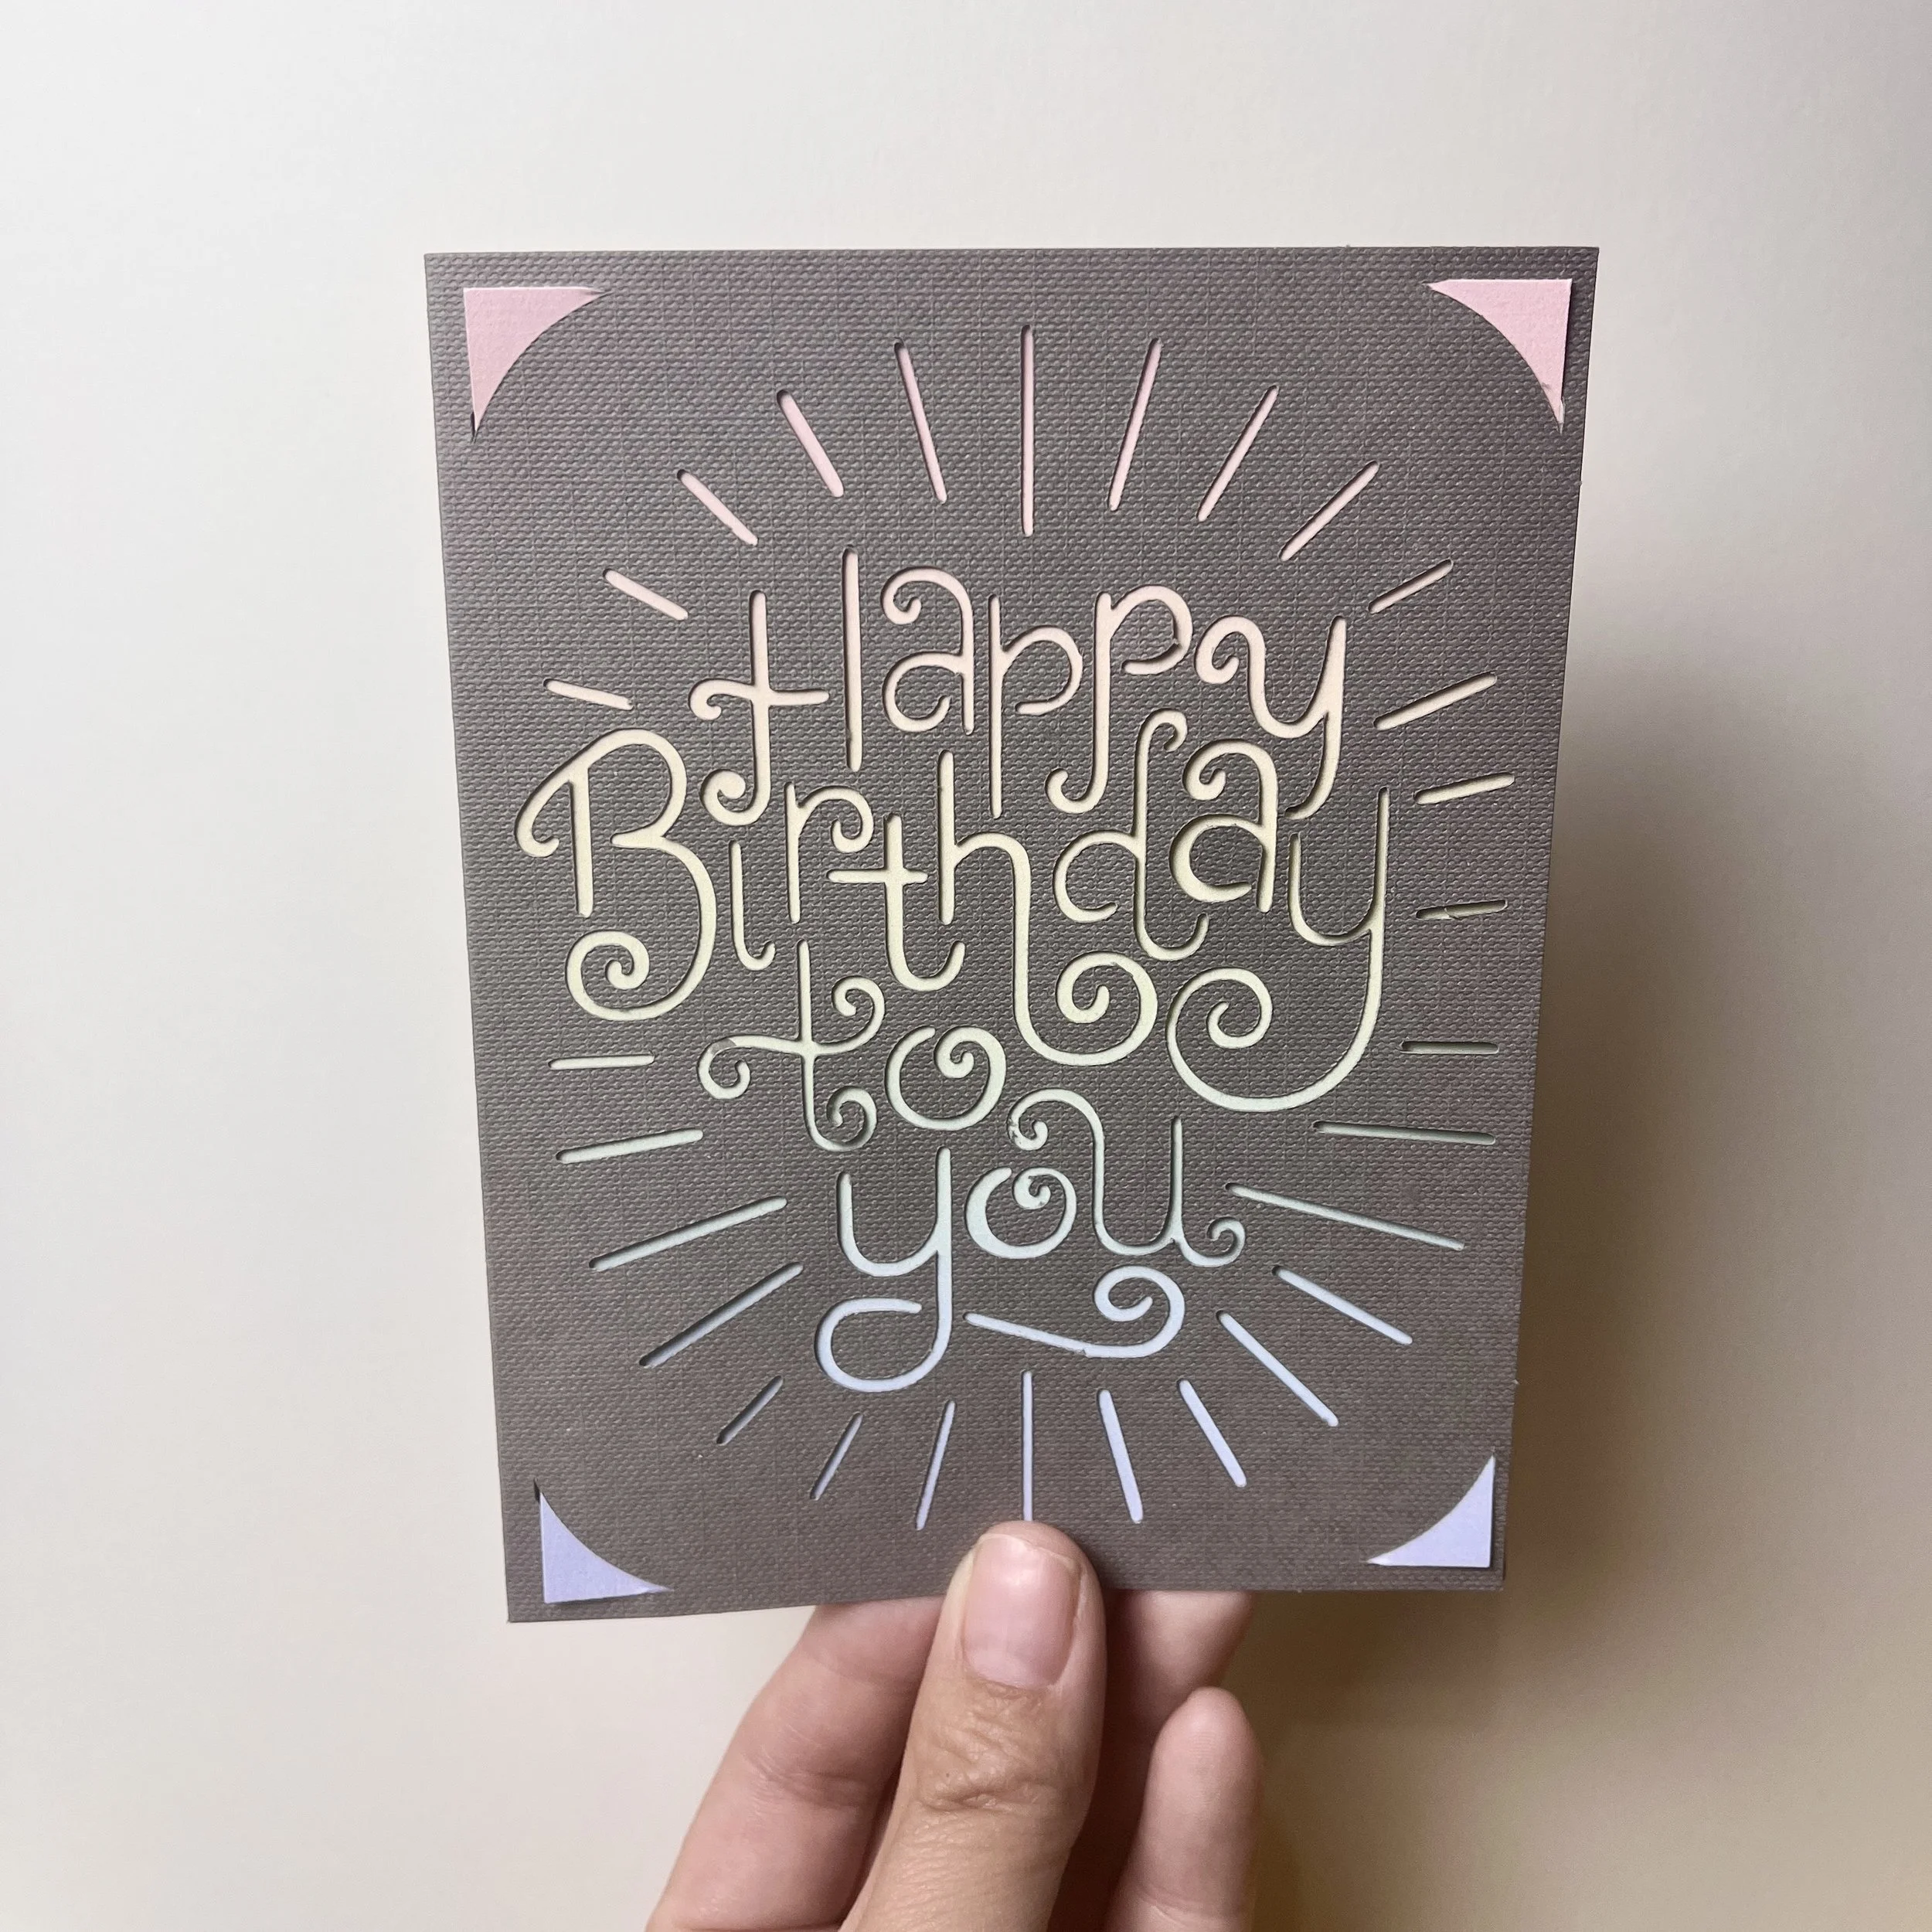
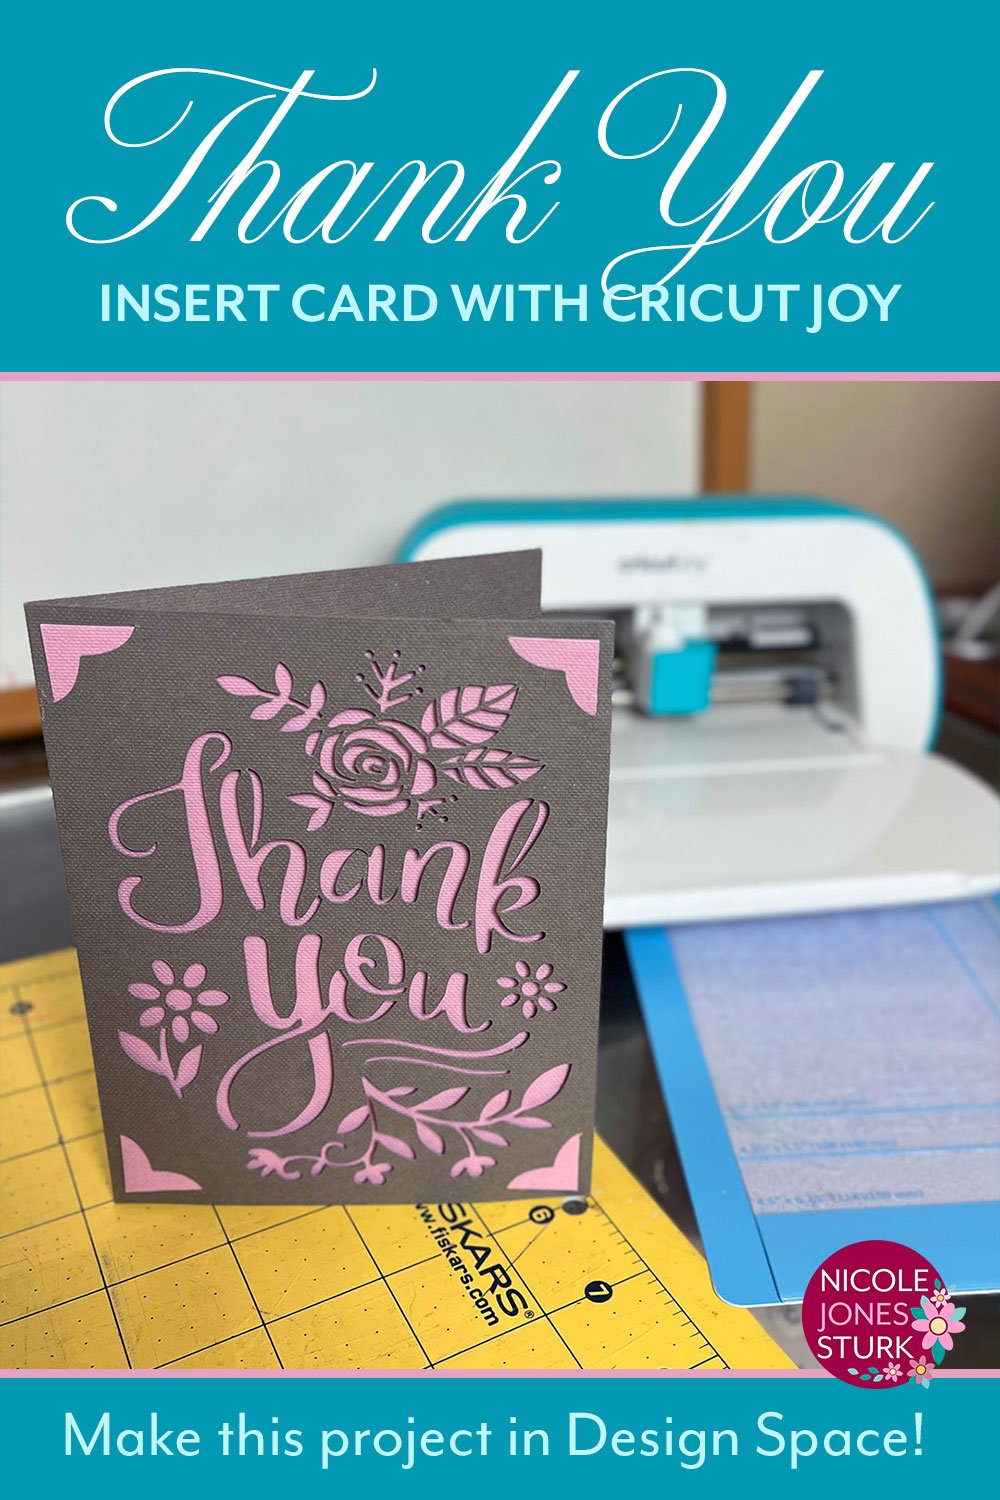
February is also my birthday month! To celebrate, I’m giving all of YOU a gift. I have a FREE SVG file for a birthday card. It is a new insert card design I created a few months ago, but up till now has only been available on Cricut Design Space via subscription or purchase. I’m also providing alternative file formats like SVG and DXF. Download by clicking the image or button below.

Already a Cricut Access subscriber? You can also find the project in Design Space HERE ready to make!

Enjoy!

Nicole


You Might Also Like…

Holiday Projects to Make with Cricut

Ever since Halloween ended, I have been diving straight into holiday crafting mode. Yes, my tree is already up, as of November 2nd! With Thanksgiving in the U.S. next week, and the start of the Christmas season, I thought I would give you all a little round-up of all that I’ve done so far to give you some inspiration for your own holiday crafting.

Please note: This blog post contains affiliate links, meaning I receive a commission if you make a purchase by following my link to the site.


Since I now design SVG images for Cricut as a Contributing Artist, my main focus lately has been on Cricut-made crafts, especially paper crafts. As such, the projects listed below can all be found in my Design Space profile ready to make.

If you have a Cricut Access subscription Cricut Access subscription, all these projects (and TONS of other wonderful projects on Design Space) will not cost you any extra. (Without it, premium images and fonts must be purchased ala carte.) I am a subscriber, and I have been having so much fun browsing, bookmarking, and making projects from Cricut and the community members. Click HERE to learn more about Cricut Access.

Now on to the projects…

These first three were created as part of a special initiative given to Contributing Artists to come up with projects for the holidays. Many artists submitted original crafts, complete with lists of materials, full instructions, and high-quality photos. Be sure to check them out!

Poinsettia Insert Card

This is a quick and easy beginner project I made with my Cricut Joy and card mat (although it can also be made with the bigger machines). It incorporates both drawn and cut elements. I love the red glitter cardstock shown here, but I made a bunch of other color combos, which you can see in my Design Space photos.

Gingerbread Gift Tags

These are made with layers of cardstock. The design is more intricate, but the assembly is pretty simple. There are drawn elements on the back side as well. These also work great as ornaments!

North Pole Sign

Here is one non-paper craft. I cut this North Pole sign from permanent vinyl and applied it to a painted wooden plaque. This was probably the most complex project—or maybe it just felt that way because I’m not great at using vinyl yet! I love the end result, though.

These next projects weren’t official Cricut Contributing Artist holiday submissions—I just made them for fun as a community member!

Snowflake Photo Ornament

These are layered paper ornaments that are double-sided. On one side, I put space to insert a small photo. The other side contains the year. I made one of these for each of my four kids in different colors.

Christmas Cookie Plate Ornament

This one is also made with layered cardstock. Each little cookie is assembled separately and attached to the plate base. The paper layers give a nice dimensional look to the cookies.

Holly Jolly Insert Card

Last but not least, this is an insert card I designed with a holly theme. This one has elements that are cut from other colors and placed on top of the card base. I used a glittery white insert on this one—love the sparkles, especially for the holidays!

That’s it for this post. I’m sure I’ll be making even more as the season progresses, so you may see another holiday craft roundup before the season is through. ;)

Happy Holidays!


You might also like…

Thank You Insert Card for Cricut Joy

It is so nice to be able to whip out a card whenever you need one—even at the last minute—but still make it something special. Insert cards are perfect for this. This is a quick Thank You insert card that I made with my Cricut Joy and card mat. This is actually one of the first insert cards I ever designed, and now it’s available on Design Space!

The finished card is 4.25 x 5.5 inches. I used Cricut's insert card kits, but you can also cut a piece of cardstock to 8.5 x 5.5 inches and fold in half. The insert piece is 4 x 5.25 inches.

Click on the image to go to the ready-to-cut project in Design Space.


If you’d like to make this project and more, I highly recommend subscribing to Cricut Access!

Please note: This is an affiliate link, meaning I receive a commission if you make a purchase by following my link to the site.

Free Envelope SVG for Cricut Joy Insert Cards

As much attention as I’ve been giving my new Silhouette, I’m still crafting with my Cricuts! It’s double the fun, hehe.

The Cricut Joy insert cards are one of my favorite projects. It’s great that they’re so quick and easy. Even so, I like to spend time on them making them more personalized.

nsturk-cricut-joy-insert-envelope-photo-1-web.jpg

One way you can add a little bit extra to your insert cards is to make a custom envelope! It’s fun to coordinate it to your card with your choice of papers and embellishments. It also uses up some of that paper you’ve been stashing away!

I created my own cut files to use, which I’m going to share with you because I like you. ;)

The FREE download I’ve prepared for you includes:

  • envelope SVG sized for A2 Cricut Joy insert cards (4.25 x 5.5 inches)

  • envelope liner SVG

  • envelope liner printable PDF template—print directly on your paper and cut by hand; use with an existing envelope

  • PDF instructions

nsturk-cricut-joy-insert-envelope-photo-2-web.jpg

Some tips: I like to use a sturdy paper, but not too heavy. I still want it easy to fold and mail if needed. Also for mailing, I prefer to use a plain paper for easier readability when going through the postal system. The liner works best with a lighter weight paper so you don’t add too much bulk to the inside or make it harder to fold. I probably wouldn’t add loose elements (like the paper branches that are sticking out in the image above) if I were planning to mail as well.

Oh, and obviously, you can use this with any A2 size card, not just Cricut Joy insert cards! And SVGs can be resized as well.

FYI, if you like the flower sticker in the image above, you might be interested to know that I’m working on a cute floral printable sticker sheet as part of my bonus content for April. Sign up for my newsletter if you haven’t already to gain access to that download and more when it’s ready!

Click on the button or image below to download the envelope files!

You’re free to use with any project, but please do not redistribute the original files directly, such as through a direct download on our own blog or social media. But that doesn’t mean don’t SHARE—I’d love if instead you sent your friends a link to this post so they can download as well!

nsturk-freebies-promo-april2021.jpg